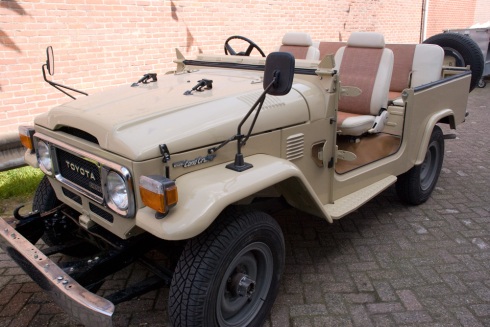
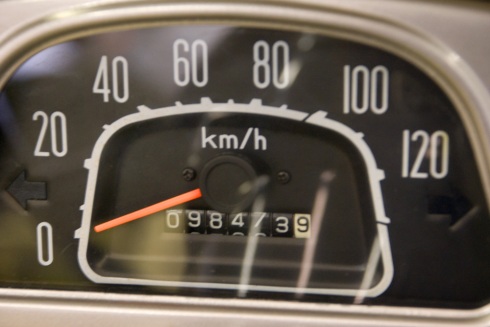
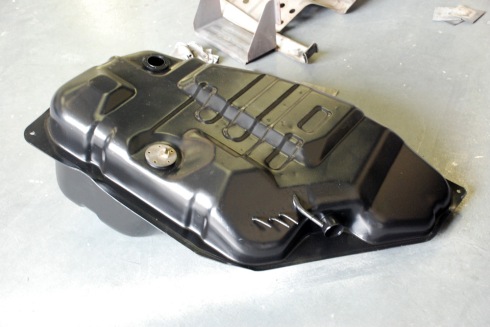
 Its been a while since my last post and that can mean two things, good or bad news… fortunately it was the first one!!! I’ve been driving alot the last few weeks. Continue reading
Category Archives: Assembly
Installing the recoated tank
Install sliding windows
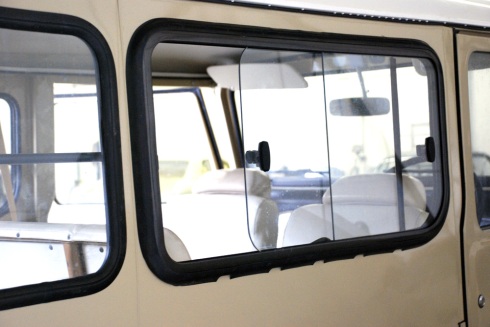 This week I finally installed the last windows of my Land cruiser. The iconic sliding windows only seen at the later model (1980+) Land cruisers. I made a comprehensive photo report to show you how this works. Continue reading
Installing window weatherstripping
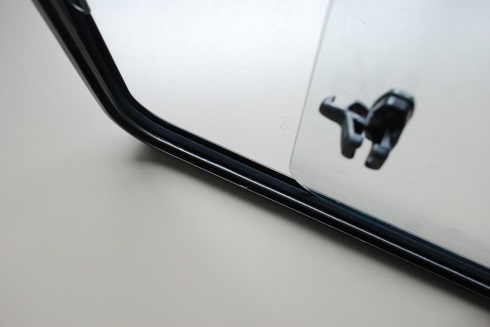 Now the frames are painted, the weatherstripping is in and the glass is thoroughly cleaned and scraped with razor blade (for getting the persistent dirt off), It is time to assemble everything. Continue reading
Hood silence pad
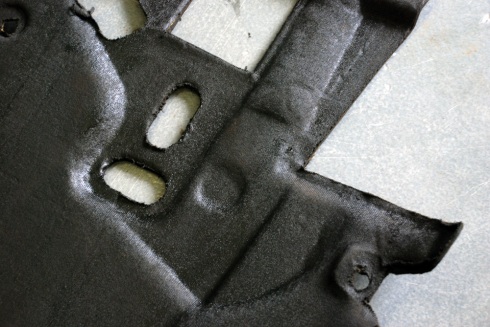 Driving noise is something you have to live with when owning a classic land cruiser, even more when owning a diesel version. That’s why Toyota assembled the Diesel cruisers in some markets with a factory silence pad under the hood. Continue reading
OEM Door weatherstripping
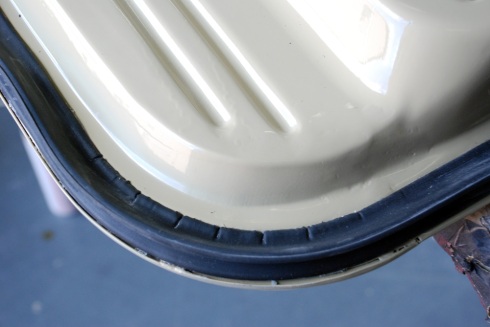 Ok just a short notice: bought the aftermarket front door weatherstripping/seals a while ago and tried to install them properly… That turned out to be a big failure!!!! So this time, I bought the Genuine Toyota ones from cruiserparts.net.. what a difference!! Continue reading
New Tires
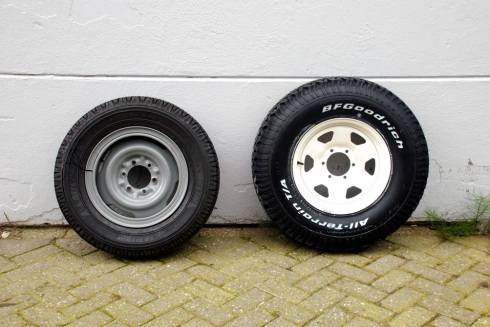
This weekend I got myself a nice pair of sneakers!! And then I don’t mean a new pair of “hard to get” Nike’s, but 5 brand new BF Goodrich All Terrain Tires. Continue reading
Seat belts are in.
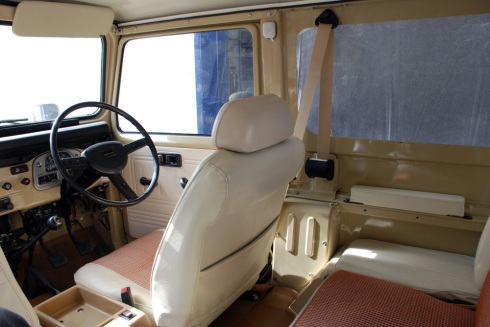 Ok, I know this whole restoration kinda speeds up lately, probably because the finish is in sight… (not the end of this blog though.. :)) Today I also installed the Seat belt kit I received a few days ago. Continue reading
Installing shift pattern plate
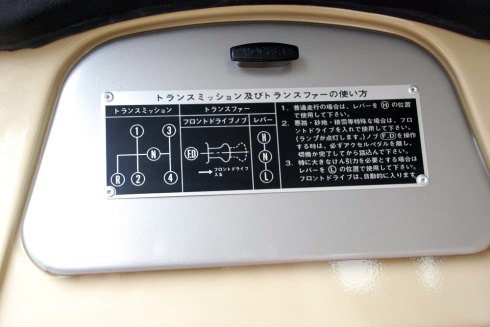 Today I brought one of the shift pattern plates with me I had received earlier this week, Time to make a “how to install” for this nice plate. As mentioned before I decided not to order the plates with pre drilled holes. The case might be that the holes wouldn’t align perfectly with the holes in the glove box door. Continue reading
Rooftop installed
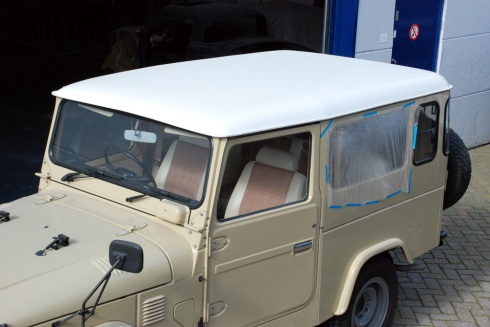 You all still owed this one from me… Already installed the roof top last week, but because of the bad weather over here (NL) the pictures were all dark and not good enough for posting. Continue reading
Rooftop weatherstripping part 02
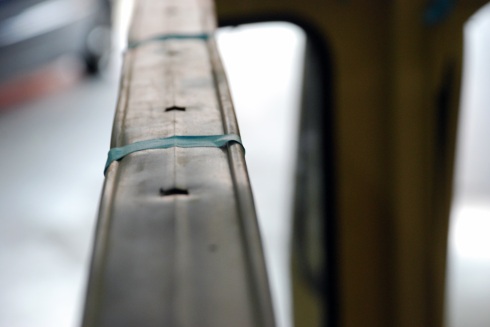 Last week I showed you that I sourced a good alternative for the “no longer available” weatherstripping. Now its time to install and see if it will work as I hoped it would. Continue reading
Refreshing the Hub Locks
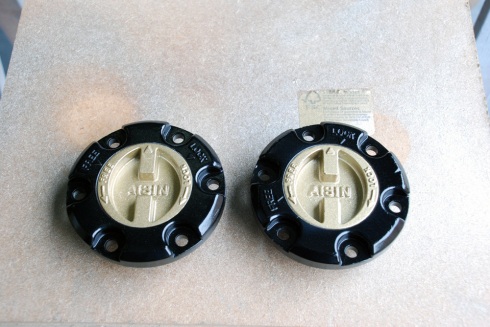 As an intermezzo, doing a small job brings back hope, and can give you as much satisfaction as a larger job. Therefore i decided to refresh the original Aisin locking hubs. Continue reading
Door assembly & weatherstripping
 Yesterday was my second day I could enjoy the happy moments of assembling all the parts you have worked so hard on… Continue reading
Hardtop Assembly Part01
 The hardtop panels and doors were painted in their final coat, then dried for a week and are now ready for assembly, yeah, the most thrilling part of the restoring process. Continue reading
Assembly current status
No insight or detailed information here about a specific part, just an update on the current status of the Cruiser.
Most pictures are taken up close, so Here are some pics of the status so far. Continue reading
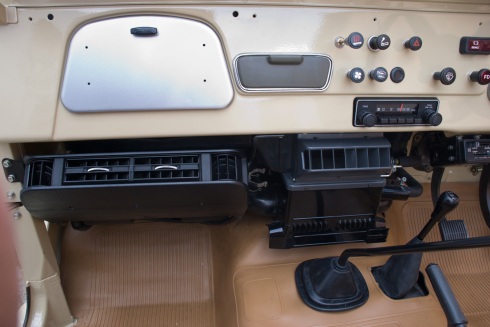
Air Conditioning unit
The last step in finish installing all the dashboard components, is the Air Conditioning unit. A nice factory original Nippon Denso in good condition. Continue reading
Vinyl Floor covers
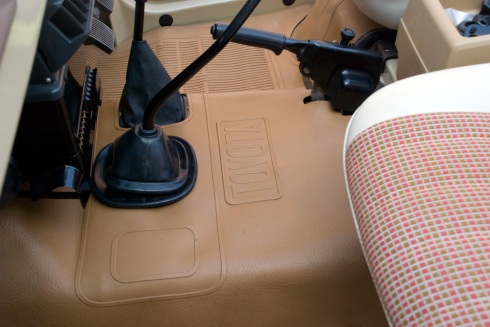 A nice detail with this Japanese cruiser are its original floor covers, still in good condition, not dried out or teared whatsoever.
Continue reading
Glove Box part 01
I will give some extra attention to the glove box in this post. The main reason is actually not the glove box cover itself, but the shift pattern instructions plate on it. With nice instruction in Japanese Kanji, I like that a lot!!! Continue reading
Instrument cluster refresh
After a few paint fails, the old paint didn’t like the new paint on top, I finally sanded the instrument cluster frame to bare metal and started from scratch. Continue reading
Upgrading head lights
Since electricity is all in working order, engine starts like It never stopped running for a longer period, I started to finish installing the lights at the front. Originally my cruiser came with the factory Koito sealed beams, that means that the light bulb is integrated with its housing. You buy them in one piece. Continue reading
Front seats
After installing the heaters and filling the system up with coolant fluid, I’m able to run the engine again. This means I can ride!!! Something that hasn’t happened for a long time, and that is exactly what I was planning last Wednesday!!! Continue reading

