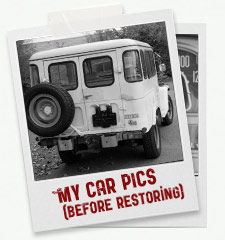
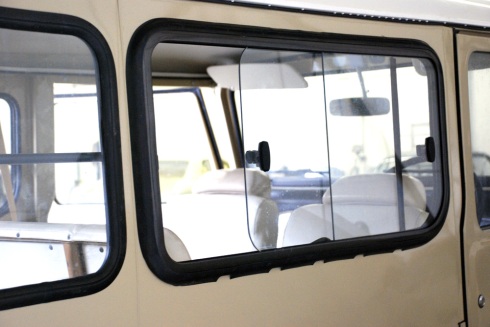
 This week I finally installed the last windows of my Land cruiser. The iconic sliding windows only seen at the later model (1980+) Land cruisers. I made a comprehensive photo report to show you how this works. Continue reading
Category Archives: Exterior
Install sliding windows
Painting sliding window frames
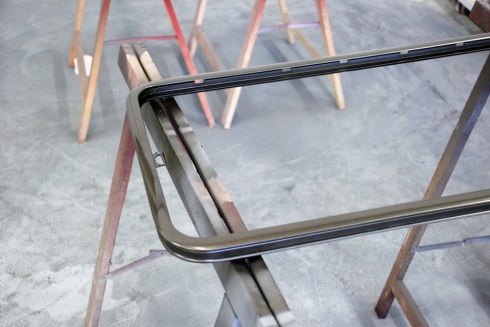 Just something that was on the list for along time, didn’t do it because I had not found the right weatherstripping yet, well if you’ve read my previous post, you know that problem is solved, so onto the painting then. Continue reading
Sliding window weatherstripping
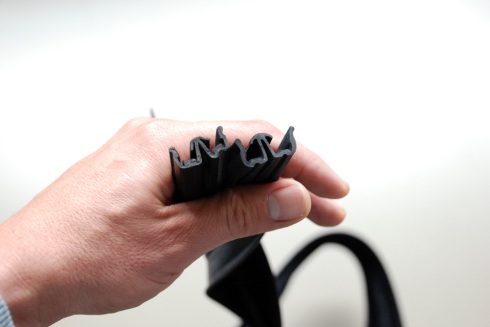 This week I received the long awaited weatherstripping for my sliding windows. Like many other parts, this was no longer available through Toyota, so I had to source for an alternative. Continue reading
Hood silence pad
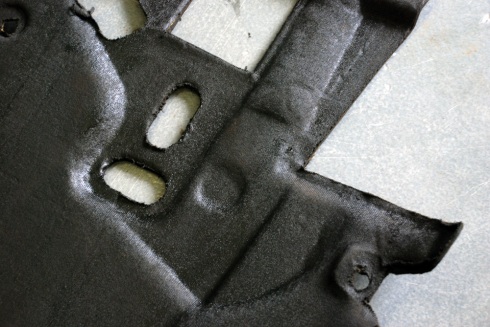 Driving noise is something you have to live with when owning a classic land cruiser, even more when owning a diesel version. That’s why Toyota assembled the Diesel cruisers in some markets with a factory silence pad under the hood. Continue reading
OEM Door weatherstripping
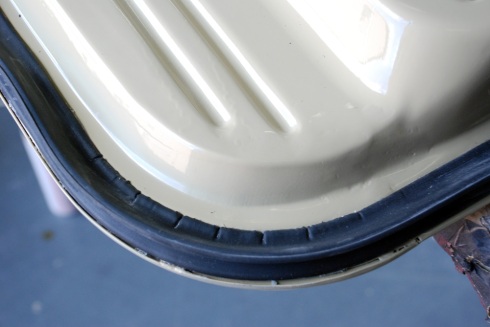 Ok just a short notice: bought the aftermarket front door weatherstripping/seals a while ago and tried to install them properly… That turned out to be a big failure!!!! So this time, I bought the Genuine Toyota ones from cruiserparts.net.. what a difference!! Continue reading
Sand & paint the rims
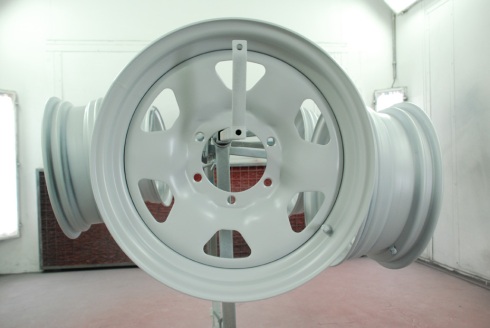
This post actually covers a few weeks of work, but always done on the side, and to my opinion never interesting enough to make it a separate post. I started sanding the almost new Toyota rims I bought somewhere in January if i remember correctly. Continue reading
Rooftop installed
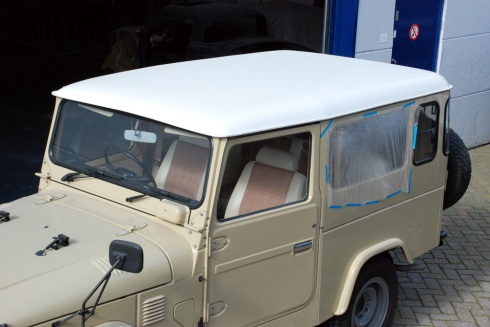 You all still owed this one from me… Already installed the roof top last week, but because of the bad weather over here (NL) the pictures were all dark and not good enough for posting. Continue reading
Roof top Weatherstripping part 01
 Yes, like everbody else, my rooftop weatherstripping was shot to pieces, completely dried out, eaten away by rust and teared in some places. Time for a replacement!!! Continue reading
(P)repairing the Roof Top

Since the hardtop is now installed including the doors and upper door bows, its time to work on the iconic creamy white polyester roof top. Continue reading
Door assembly & weatherstripping
 Yesterday was my second day I could enjoy the happy moments of assembling all the parts you have worked so hard on… Continue reading
Hardtop: the final paintjob!
 In the meantime the epoxy primer was good for sanding with grit 500 paper. This is the moment when the last preparations to the surface can be made, Continue reading
Primer Hardtop & Doors

After sanding, repairing and preparing the hardtop panels and doors, its finally time for its first layer of paint, again epoxy primer, the best base coat used on bare metal. Continue reading
Preparing hardtop and doors
 Now after the doors are welded, its time to prepare them for their first paint job with Epoxy primer. Continue reading
Welding the doors
Its been a few weeks, but I’m still alive and working on the BJ44. There just wasn’t much interesting stuff to tell, than the things I already told in my last post. But now I’ve worked on fixing the doors, so here we go… Continue reading
Hardtop windows
 Last weekend I removed the windows from the hardtop. I took them home, because the weather is really nice here at this moment, so I had a good “outdoor” activity in mind: Cleaning the windows and its rubber weatherstripping.
Continue reading
Hardtop side panels

Now that the interior is mostly finished, I started with the left overs; the hardtop and doors. The status of these was still half finished; already did the necessary welding on the hardtop side panels 2 months ago, but put those one on hold, so I could start assembling the finished parts first ( was a good idea to stay motivated ).
Continue reading
Upgrading head lights
Since electricity is all in working order, engine starts like It never stopped running for a longer period, I started to finish installing the lights at the front. Originally my cruiser came with the factory Koito sealed beams, that means that the light bulb is integrated with its housing. You buy them in one piece. Continue reading
Build up, day 01
 Dear all, Yesterday I had the best day in times, a day long awaited… The day I could finally start to assemble all the big and small parts that took ages to clean, sand, repair, sand again, level, paint… The day I’ve dreamed of from day 01. In the meantime I had collected many boxes with bought parts, prepared parts, cleaned parts… Continue reading
Retouch rear emblems
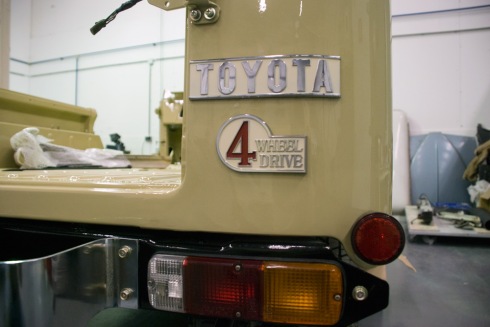
I completely forgot to post these pictures I made when repainting my rear emblems. I will place this with the right date stamp, so it will end up halfway my journal, sorry for that. Continue reading
New Parts: part 2
Last week I received the order of new parts form Cruiser Corps. Very nice and helpful company, with a great website: www.cruisercorps.com. Continue reading

